Edit Layout
Prerequisites
- Your account must have
AdminorLayout Editorrole - You must have
WRITEpermission on the store that you want to edit layout
Other Notes
- Palexy has already drawn the 1st layout for the Client. In this guide, we only focus on how to draw/edit the layout using an existing one.
- In the case of setting up a new layout, the person in charge (eg. Visual Merchandising or Store Manager) should NOT edit directly on the current layout, which will affect the results of the previous analysis. Instead, please CREATE A NEW LAYOUT and choose a specific time to apply.
Steps
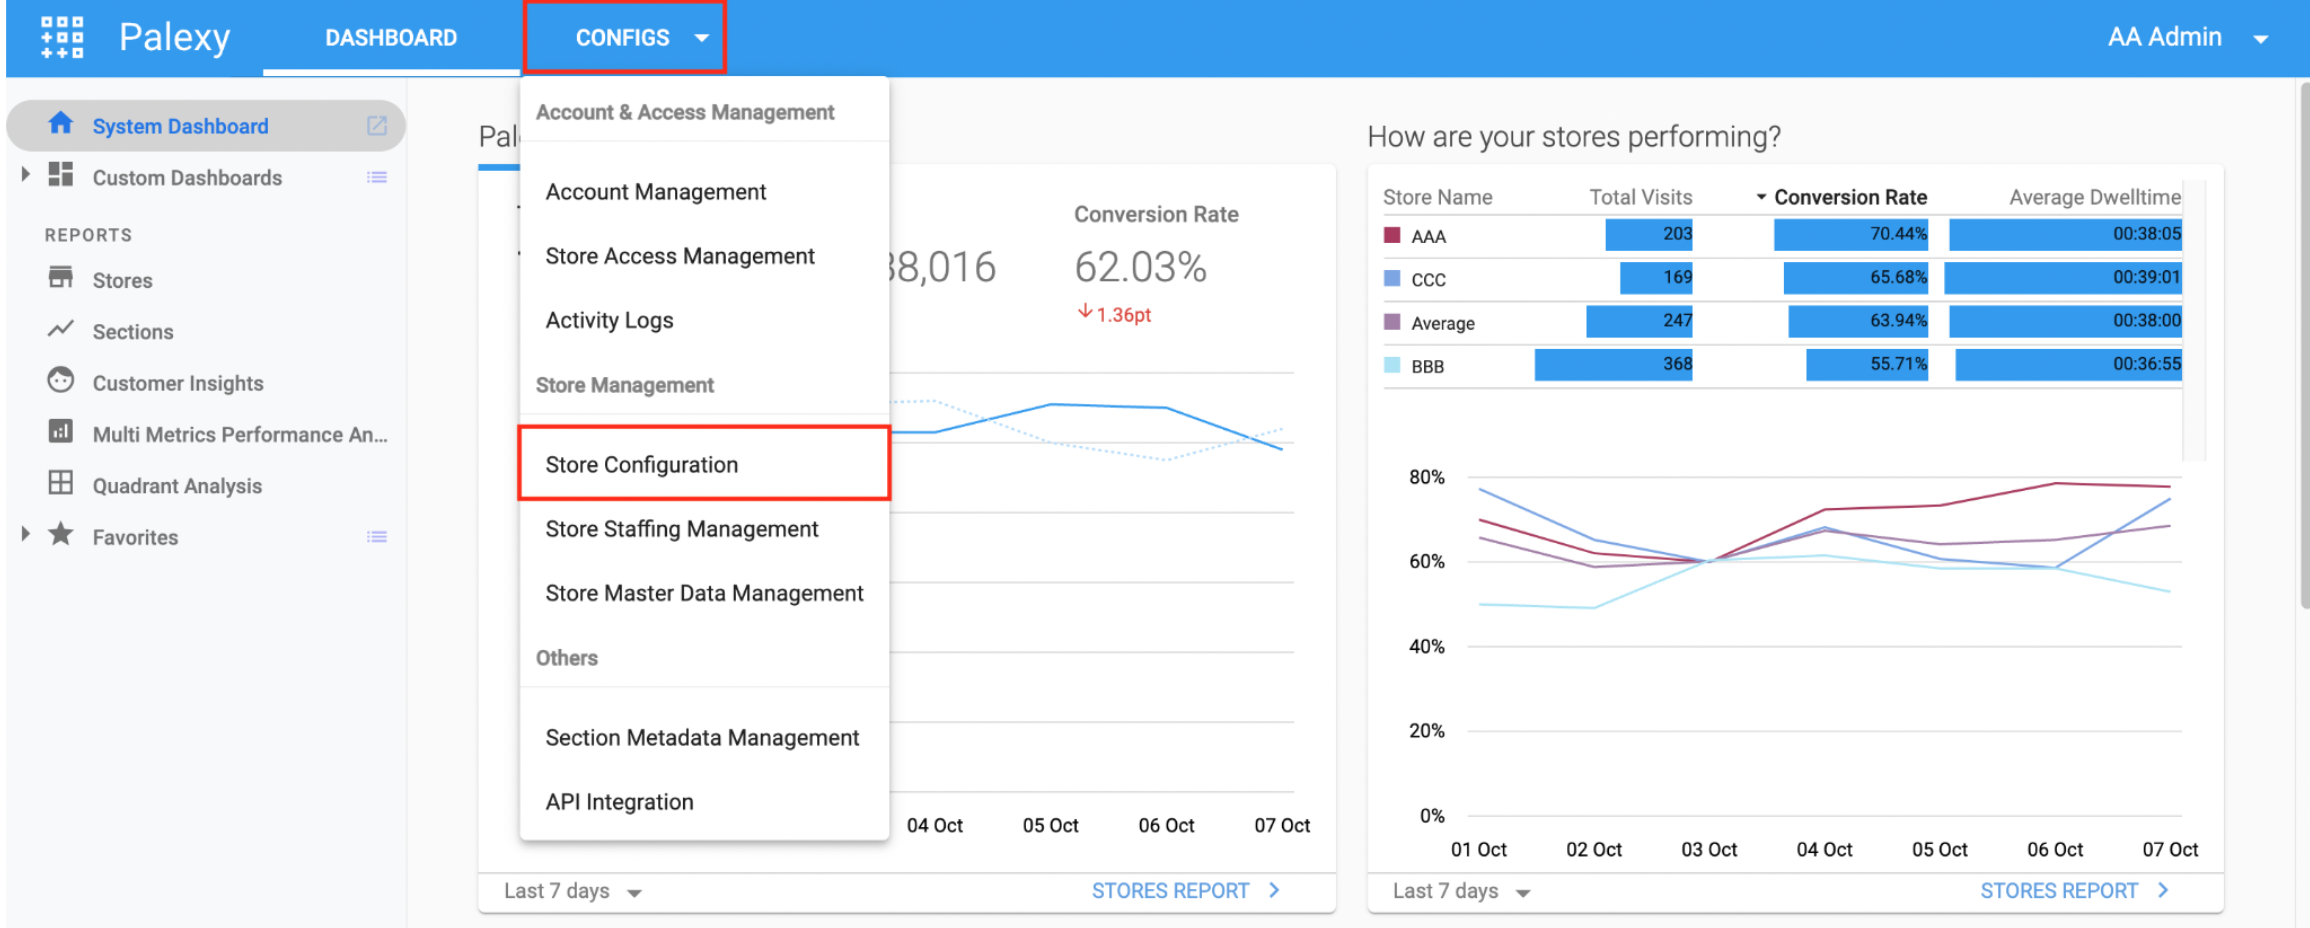
Step 1. Access Store Configuration page by select Configs on top navigation menu then choose Store Configuration
Step 2. Click on store name of the store you want to edit

Step 3. Choose floor (Floor 1/Floor 2 or in this example: AAA) to set up the layout of the floor

Step 4. In the Layout Configuration tab, choose Add New Layout to create a new layout or choose an existing layout to edit.
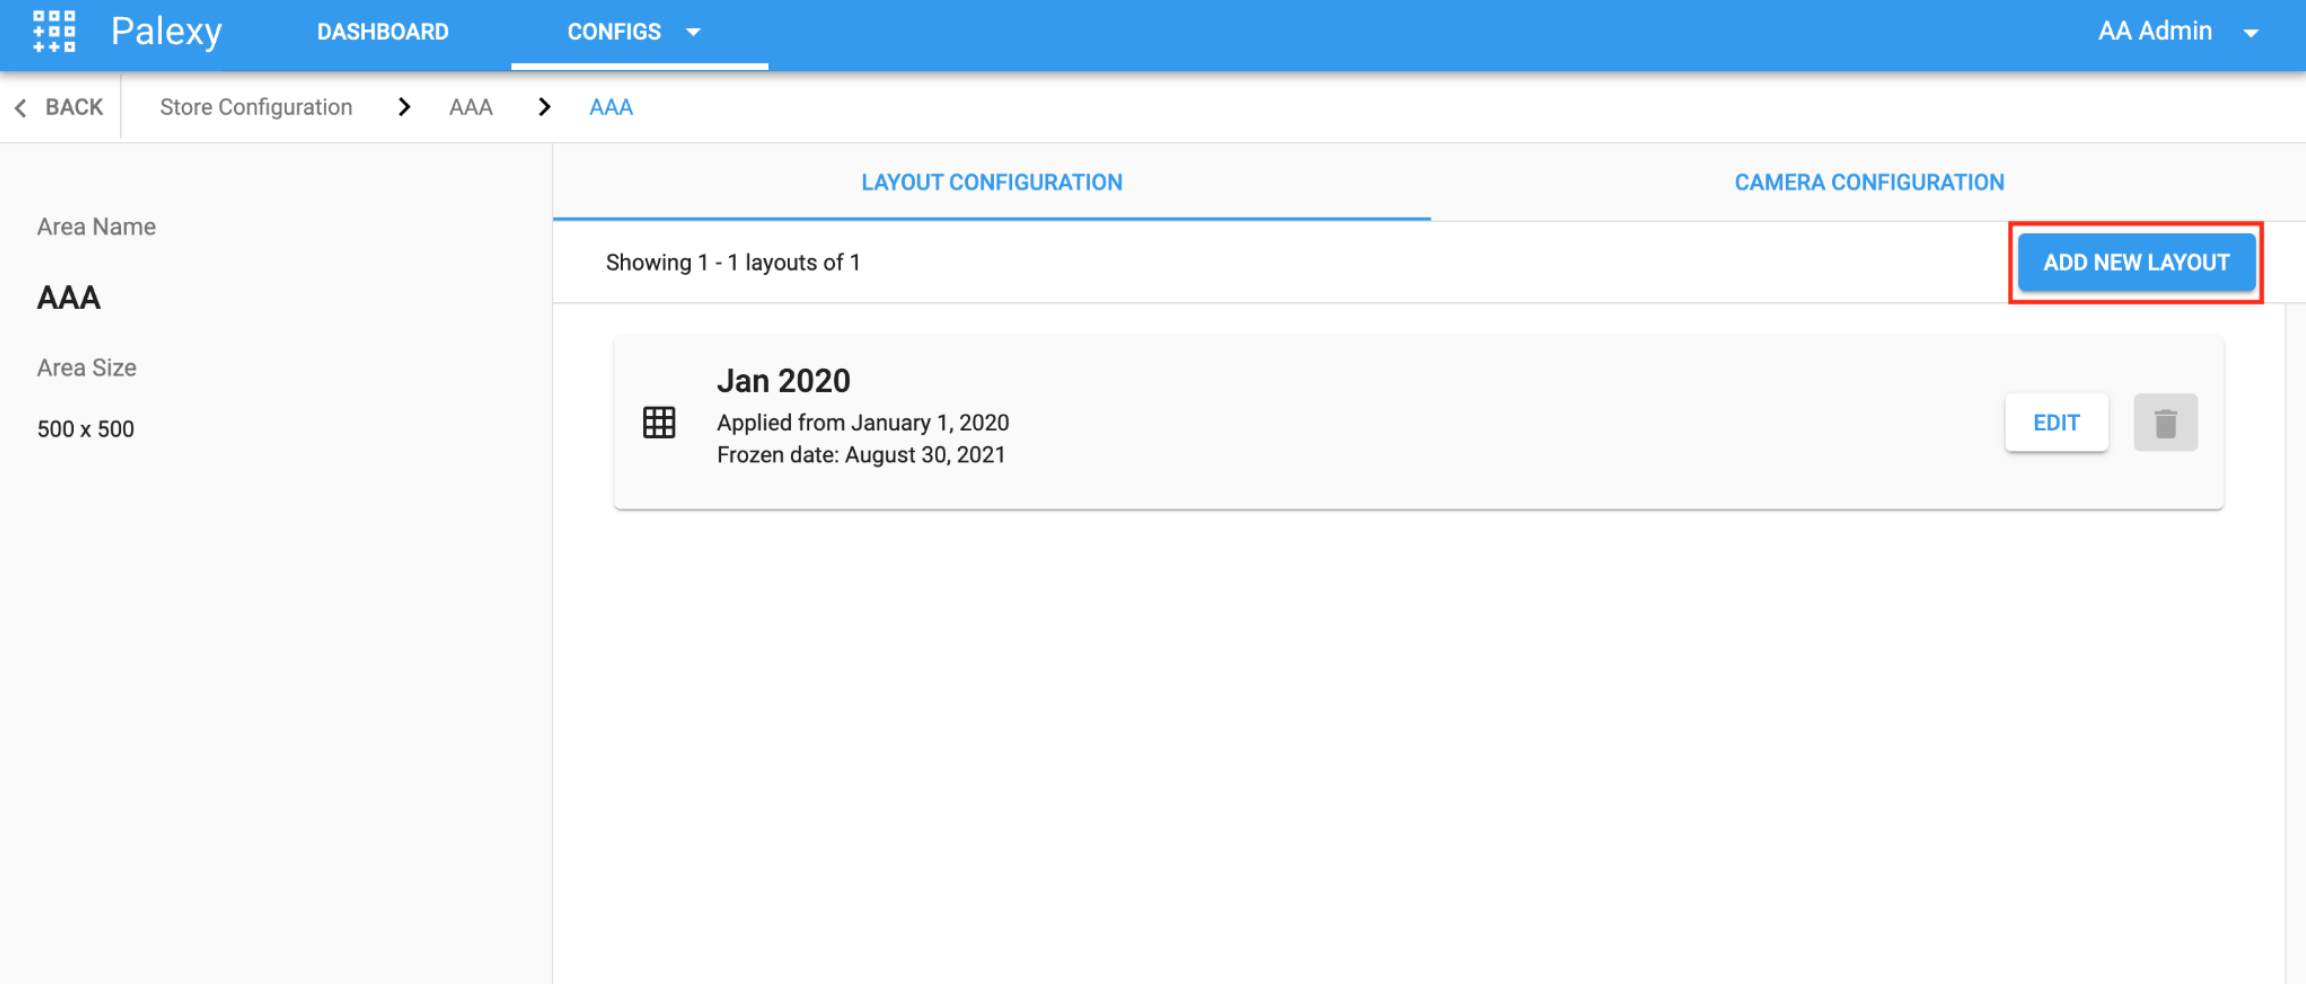 *Please note that: The ICA system will freeze the created layout after 7 days. After the frozen date, if you want to edit the layout, please contact the Palexy team for further support.
Step 5. Fill in information for the new layout

- Name: Choose a name for the new layout
- Applied date: Choose date to apply new layout on ICA
- Copy sections from the layout: User can reuse the drawn layouts. This will save time if the layout doesn’t change too much. The ICA system will automatically display a list of layouts available to choose from.
- Choose an existing layout, then Save.
Step 6. Choose layout to edit.
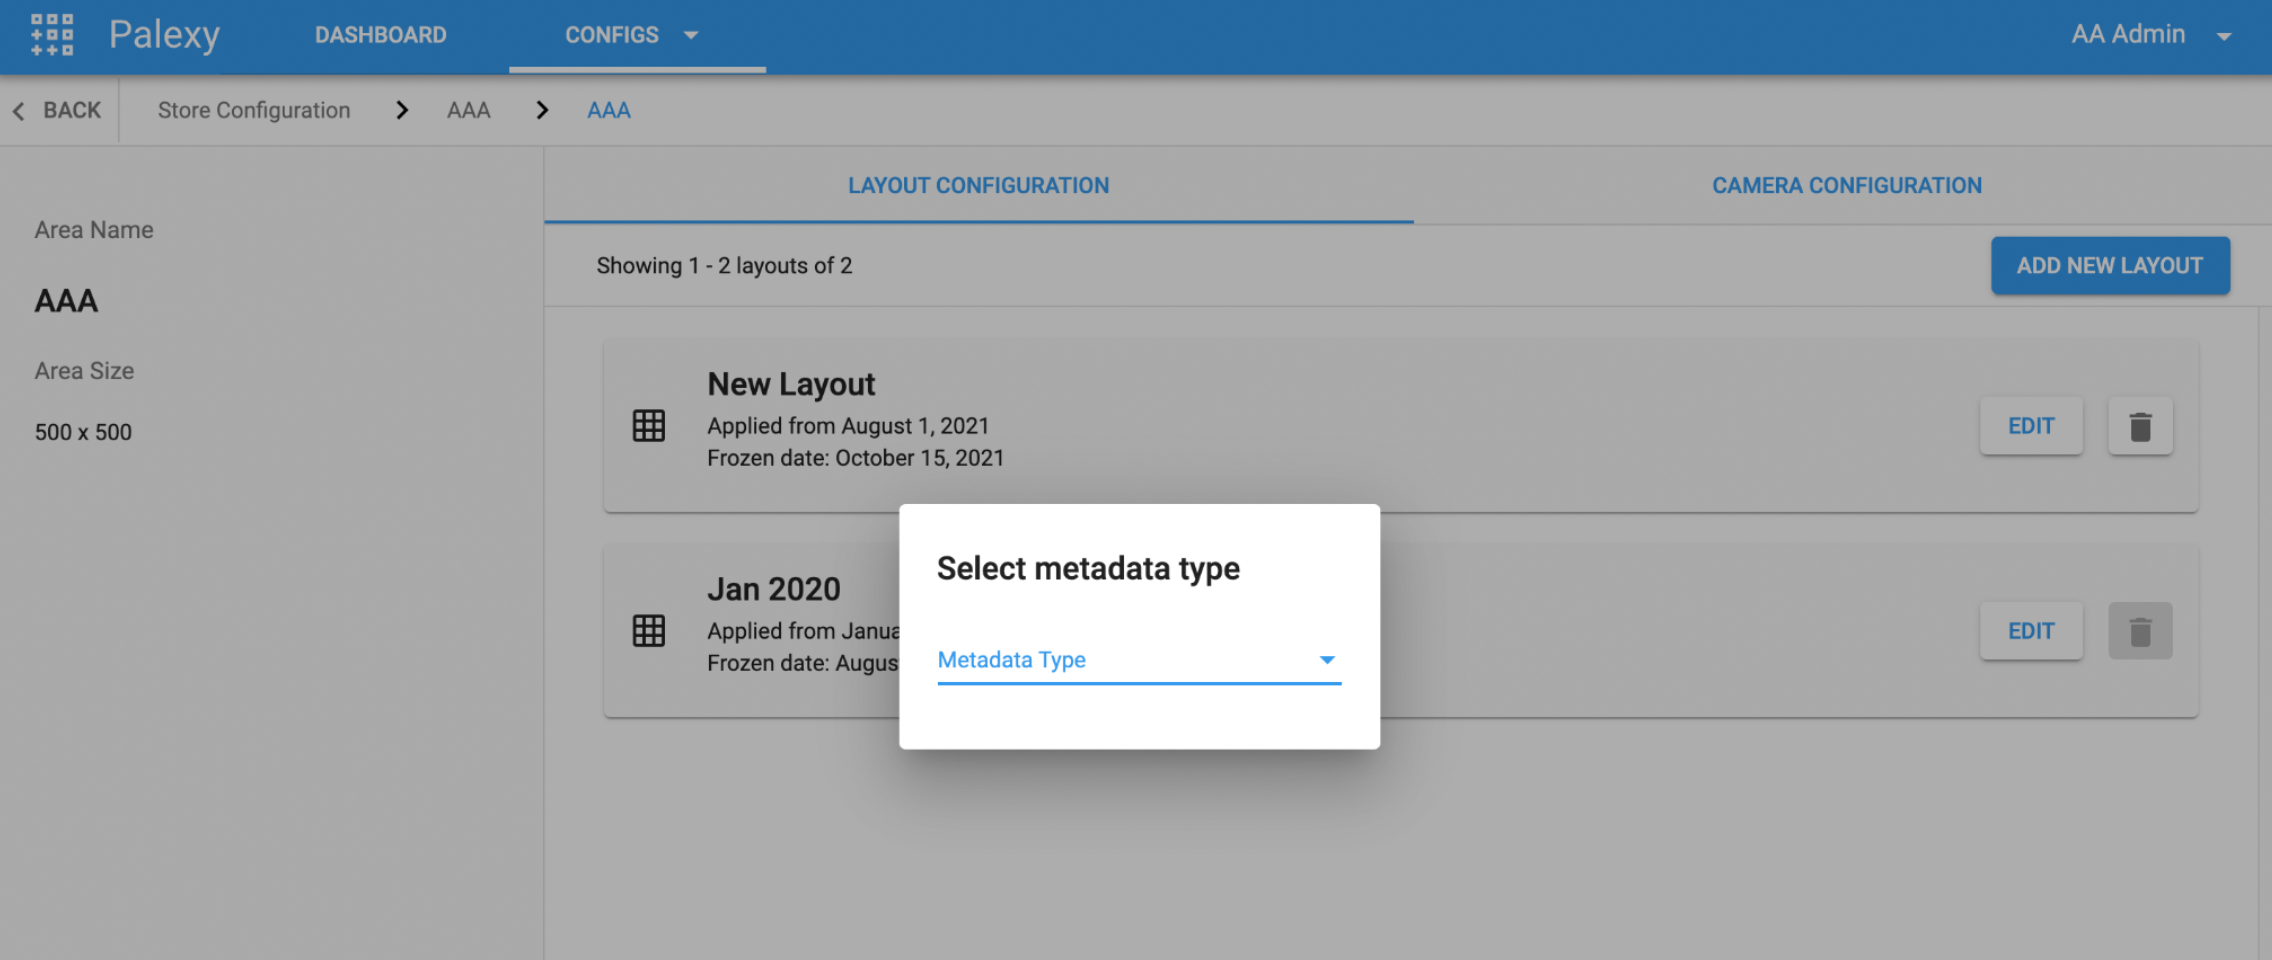
- In Metadata type: Choose Section or Section Deploy
Step 7. Draw product section on camera view
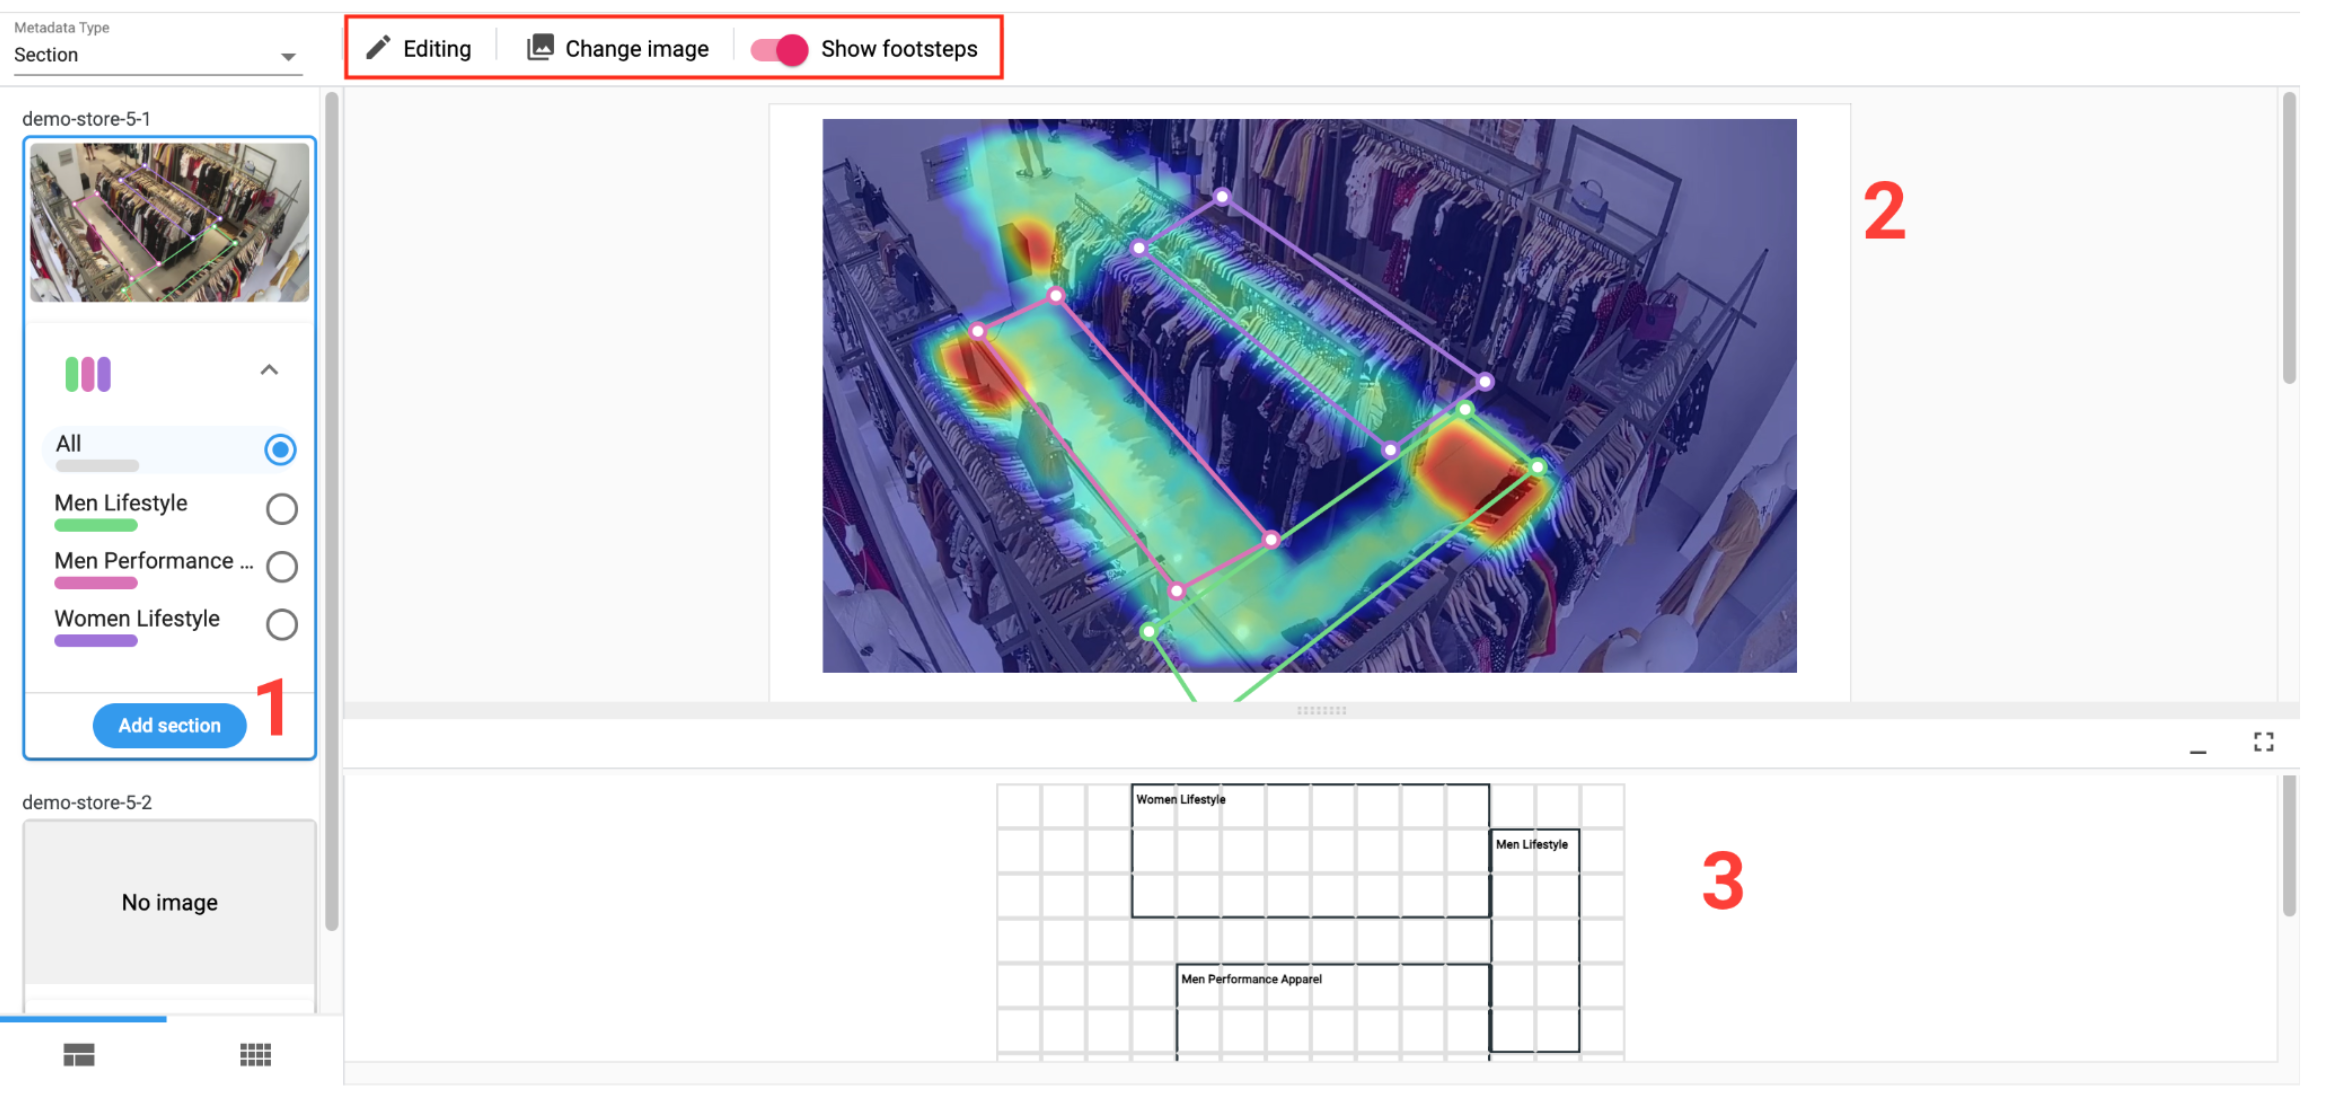
UI overview:
- Area 1: List of camera and product section
- Area 2: Camera view. To zone the product section on a store image - taken from the camera.
- Area 3: Floor view. When zoning the product area on the camera image, the system displays the position of the area drawn on the 2D layout below to help users visualize product sections more clearly and comprehensively.
Other icons:
- Add section (in area 1): To add a new product section into the layout
- Editing/Viewing: Showing user is in editing mode or viewing mode
- Change image: Change the image of the store (image captured by camera). If you want to change image, please follow Change Store Image for Layout guide.
- Show footsteps: To draw the product area, we need to localize the position where the customer stands in that product area (Footstep). The system automatically chooses Show footsteps
To identify the product section on camera view, user has to draw a polygon to localize the customer’s footsteps standing to view the product.
To expand or narrow area of product section on top of the image taken from the camera.
- In list of product section (Area 1), choose one product section.
- The chose section will pop up on area 2 (as below example) and user can click on the corner of the polygon and customize the size to adjust the section as wanted.
- The corresponding product section also appears on the floor view (green rectangle) - Area 3

Other elements in the UI:
- Change value: To change the name of the polygon without redrawing
- Delete: To remove the drawn polygon
- Left-click on polygon on the camera section to highlight the corresponding section on the floor view below
- Right-click on the section on the floor view to highlight the corresponding polygon on the camera view.
- You can hide, enlarge, or resize the floor view below according to your needs.